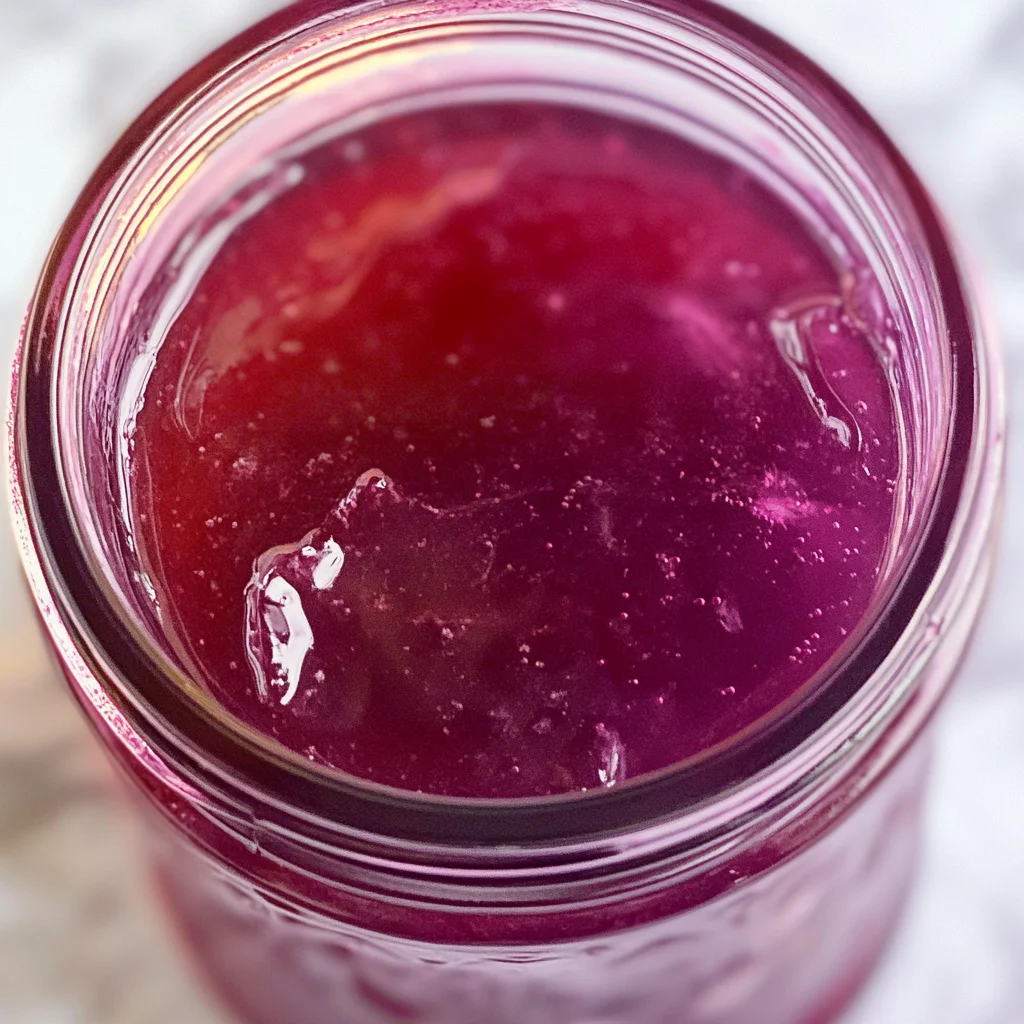
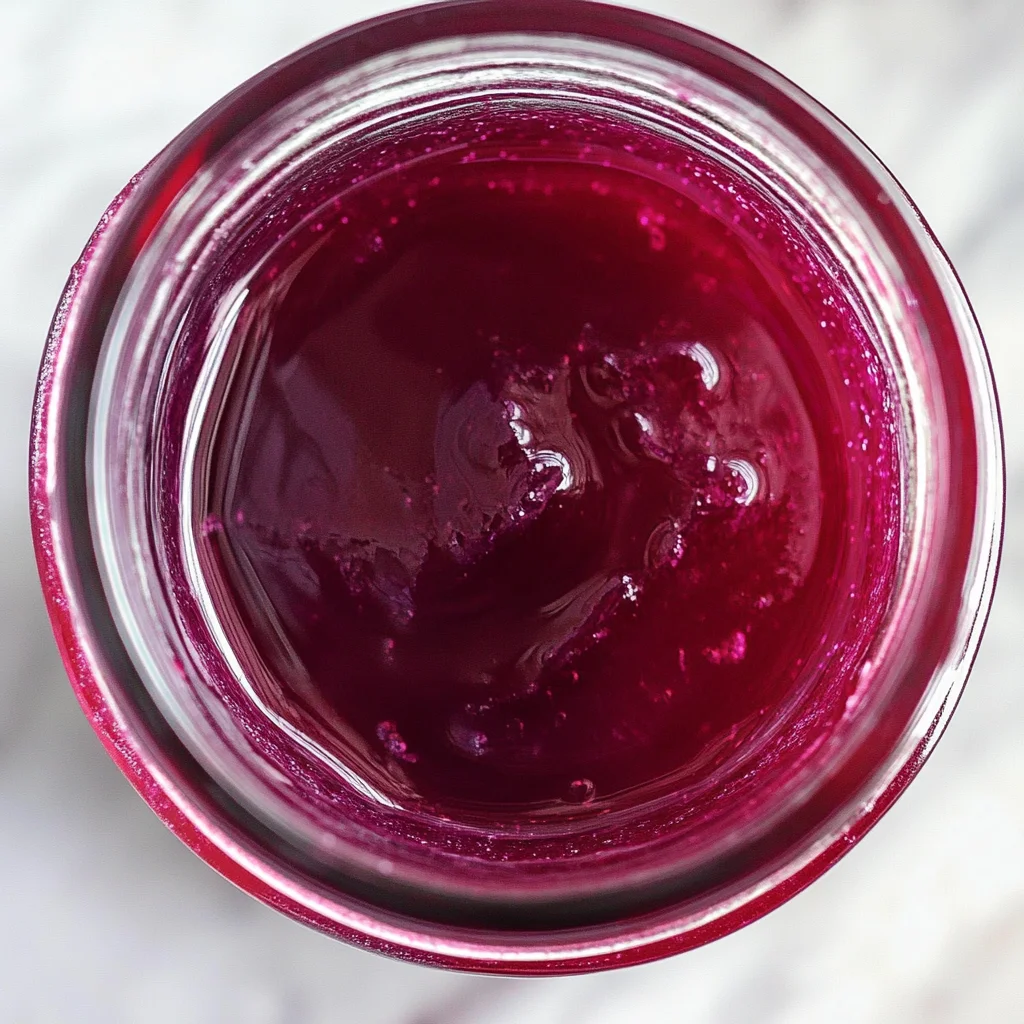
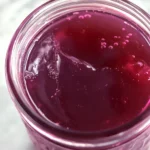
Homemade Plum Jelly
Homemade Plum Jelly is a delightful treat that brings the sweetness of ripe plums into your kitchen. This simple recipe is perfect for various occasions, from breakfast spreads to dessert toppings. With its rich flavor and smooth texture, homemade plum jelly will elevate any dish while allowing you to control the ingredients. Plus, it’s a fun project that can involve the whole family!
Why You’ll Love This Recipe
- Easy to Make: With just a few ingredients and straightforward steps, you’ll have delicious jelly in no time.
- Versatile Uses: Enjoy it on toast, in desserts, or as a filling for pastries.
- Customizable Sweetness: Adjust the sugar levels or use honey for a unique twist.
- Perfect for Gifting: Homemade plum jelly makes a thoughtful gift for friends and family.
- Preserves Freshness: Capture the taste of summer plums and enjoy them year-round.
Tools and Preparation
Before diving into the cooking process, having the right tools on hand can make your jelly-making experience smooth and enjoyable.
Essential Tools and Equipment
- Stockpot
- Colander
- Fine mesh strainer or cheesecloth
- Ladle
- Clean jars
Importance of Each Tool
- Stockpot: A large pot ensures that you have enough space for boiling the fruit and water without spilling.
- Colander: This tool helps drain the fruit effectively, separating juice from pulp with ease.
- Fine mesh strainer: Ensures your jelly is silky smooth by removing any remaining solids from the juice.
Ingredients
To create this delightful homemade plum jelly, gather these simple ingredients:
For the Plum Jelly
- 5 pounds ripe plums
- 1-1/2 cups water
- 1 (1.75 ounce) box fruit pectin
- 1 tablespoon unsalted butter
- 6-1/2 cups granulated sugar
How to Make Homemade Plum Jelly
Step 1: Prepare the Plums
- Slice the plums in half and remove and discard the pits. Don’t bother peeling the plums.
- Place the plums in a large stockpot. Add 1-1/2 cups of water.
Step 2: Cook the Plums
- Bring the pot to a boil over medium heat.
- Cover and simmer for about 10 minutes.
Step 3: Strain the Juice
- Strain the juice by pouring it through a colander.
- For an even clearer juice, strain again through a fine mesh strainer or line your colander with several layers of cheesecloth.
- Allow the fruit to drain for at least 30 minutes before discarding the leftover pulp.
Step 4: Prepare for Boiling
- You should have about 5-½ cups of plum juice. Pour this back into your stockpot.
- Add one box of fruit pectin and 1 tablespoon of butter to the juice.
Step 5: Boil and Add Sugar
- Bring the mixture to a hard rolling boil.
- Quickly add 6-½ cups of sugar while stirring constantly.
- Continue boiling for one minute before removing from heat.
Step 6: Skim Foam and Jar Up
- Skim any foam from the top using a metal spoon.
- Ladle your homemade plum jelly into clean jars.
Step 7: Store Your Jelly
Jelly can be stored in the refrigerator for up to six months, allowing you to enjoy this delicious spread long after its creation!
How to Serve Homemade Plum Jelly
Homemade plum jelly is a delightful addition to many meals and snacks. Its sweet and tangy flavor can elevate your dishes, making them more enjoyable. Here are some creative ways to serve this delicious jelly.
Spread on Toast or Biscuits
- Toasted bread or flaky biscuits topped with homemade plum jelly creates a perfect breakfast treat or snack.
Pair with Cheese
- Serve the jelly alongside a cheese platter. The sweetness of the plum jelly complements creamy cheeses like brie or sharp cheeses like cheddar.
Glaze for Meats
- Brush homemade plum jelly over roasted chicken or turkey for a flavorful glaze that adds richness and depth to your dishes.
Swirl into Yogurt
- Stir in a spoonful of plum jelly into plain yogurt for a quick and tasty dessert or breakfast option.
Use in Sandwiches
- Spread plum jelly on sandwiches, especially those made with turkey or chicken, for an unexpected burst of flavor.
As an Ingredient in Sauces
- Incorporate plum jelly into savory sauces for meats, adding sweetness and a unique twist that enhances the dish.
How to Perfect Homemade Plum Jelly
Making homemade plum jelly can be straightforward, but perfecting it takes some attention to detail. Here are essential tips to ensure your jelly turns out amazing every time.
- Choose ripe plums: Using perfectly ripe plums will enhance the flavor and color of your jelly.
- Measure accurately: Precision in measuring your ingredients, especially sugar and pectin, is crucial for achieving the right consistency.
- Watch the boil: Ensure you reach a hard rolling boil before adding sugar; this helps activate the pectin effectively.
- Skim foam carefully: Removing foam from the surface after boiling keeps your jelly looking clear and appealing.
- Store properly: Use clean, sterilized jars to prevent spoilage and extend shelf life.
Best Side Dishes for Homemade Plum Jelly
Homemade plum jelly pairs beautifully with various side dishes. These options will complement its flavors while enhancing your meal experience.
-
Cheese Platter
A selection of cheeses such as gouda, cheddar, and cream cheese paired with crackers creates an excellent appetizer alongside the jelly. -
Roasted Vegetables
Season seasonal vegetables like carrots and bell peppers, roast them until tender, and serve them warm with a drizzle of plum jelly. -
Grilled Chicken Salad
Toss mixed greens with grilled chicken strips, nuts, and a light vinaigrette featuring homemade plum jelly for added sweetness. -
Savory Scones
Bake cheddar or herb scones that pair well with dollops of homemade plum jelly for a delightful contrast in flavors. -
Rice Pilaf
Fluffy rice pilaf mixed with herbs works wonderfully as a base dish served alongside glazed meats enhanced by the sweetness of the jelly. -
Sweet Potatoes
Mashed sweet potatoes seasoned with cinnamon can be enriched further with a spread of homemade plum jelly for extra flavor.
Common Mistakes to Avoid
Making Homemade Plum Jelly can be a delightful experience, but there are common pitfalls to watch out for.
- Not measuring ingredients accurately – Precision is key in jelly-making. Use a kitchen scale for the plums and measure liquid ingredients with a liquid measuring cup.
- Skipping the pectin – Pectin is essential for setting your jelly. Always add it as directed in the recipe to achieve that perfect gel consistency.
- Overcooking the mixture – Boiling too long can lead to overly thick jelly. Follow the cooking time closely for the best results.
- Ignoring sanitation – Clean jars and utensils help prevent spoilage. Sterilize jars before filling them with jelly to ensure freshness.
- Not allowing juice to strain properly – Rushing this step can result in cloudy jelly. Allow enough time for the juice to drain completely for a clear finish.
Storage & Reheating Instructions
Refrigerator Storage
- Store homemade plum jelly in clean, airtight jars.
- It lasts up to six months in the fridge.
Freezing Homemade Plum Jelly
- If you want to keep it longer, freeze it in freezer-safe containers.
- Properly stored, it can last up to a year in the freezer.
Reheating Homemade Plum Jelly
- Oven – Place jars in a warm oven until melted; avoid direct heat.
- Microwave – Heat in short intervals, stirring between each until soft.
- Stovetop – Gently warm on low heat, stirring frequently until melted.
Frequently Asked Questions
Here are some common questions about Homemade Plum Jelly.
What type of plums work best for homemade plum jelly?
For the best flavor and sweetness, use ripe plums like red or purple varieties. They provide an excellent balance of sugar and acidity.
Can I reduce sugar when making homemade plum jelly?
Yes! You can use less sugar or substitute with honey or other sweeteners. Just remember that reducing sugar might affect the gel’s texture.
How do I know if my homemade plum jelly has set properly?
After cooling, run a spoon through the jelly; if it holds its shape and doesn’t flow back together easily, it’s set!
What should I do if my plum jelly doesn’t set?
If your jelly doesn’t set, reheat it and add more pectin according to package instructions. Boil for another minute and check again.
Can I use frozen plums for making homemade plum jelly?
Absolutely! Just ensure they are fully thawed before cooking them down into juice.
Final Thoughts
This Homemade Plum Jelly recipe is not only delicious but also versatile. You can customize it by adding spices or using different types of fruit. Enjoy this delightful spread on toast or as a topping for desserts—it’s sure to impress family and friends!
Homemade Plum Jelly
- Total Time: 45 minutes
- Yield: Approximately 16 servings (1 tablespoon each) 1x
Description
Homemade Plum Jelly is a sweet, delightful treat that captures the essence of ripe plums, making it a perfect addition to your breakfast table or dessert spread. This easy-to-make recipe allows you to enjoy the vibrant flavors of summer all year round. With just a few simple ingredients and straightforward steps, you can create a luscious jelly that’s not only delicious but also customizable—allowing you to adjust sweetness or experiment with different fruit varieties. Whether you’re spreading it on toast, using it in desserts, or gifting it to friends, this homemade plum jelly is sure to impress!
Ingredients
- 5 pounds ripe plums
- 1–1/2 cups water
- 1 (1.75 ounce) box fruit pectin
- 1 tablespoon unsalted butter
- 6–1/2 cups granulated sugar
Instructions
- Prepare the plums by slicing them in half and removing the pits. Place them in a stockpot with 1-1/2 cups of water.
- Bring the mixture to a boil over medium heat, then cover and simmer for about 10 minutes.
- Strain the juice through a colander and then through a fine mesh strainer to ensure clarity.
- Return approximately 5-½ cups of juice to the stockpot. Add fruit pectin and butter.
- Bring to a hard rolling boil, stir in sugar quickly, and continue boiling for one minute before removing from heat.
- Skim foam off the top and ladle into clean jars.
- Prep Time: 15 minutes
- Cook Time: 30 minutes
- Category: Dessert
- Method: Canning
- Cuisine: American
Nutrition
- Serving Size: 1 tablespoon (20g)
- Calories: 50
- Sugar: 12g
- Sodium: 0mg
- Fat: 0g
- Saturated Fat: 0g
- Unsaturated Fat: 0g
- Trans Fat: 0g
- Carbohydrates: 13g
- Fiber: 0g
- Protein: 0g
- Cholesterol: 0mg
Keywords: For added flavor, consider mixing in spices like cinnamon or ginger during cooking. Experiment with different fruit combinations for unique jelly flavors.